 By Rachel Shieh
  2018-04-12
 laser die board cutting machine,
die board cutting machine,
laser machine,
laser machine setup,
Laser machine setup can be complicated, so is the laser die board cutting machine. Please follow below steps and tips to have a smooth laser die board cutting machine setup.
Step 1: Preparation works
1. You had better put mask on.
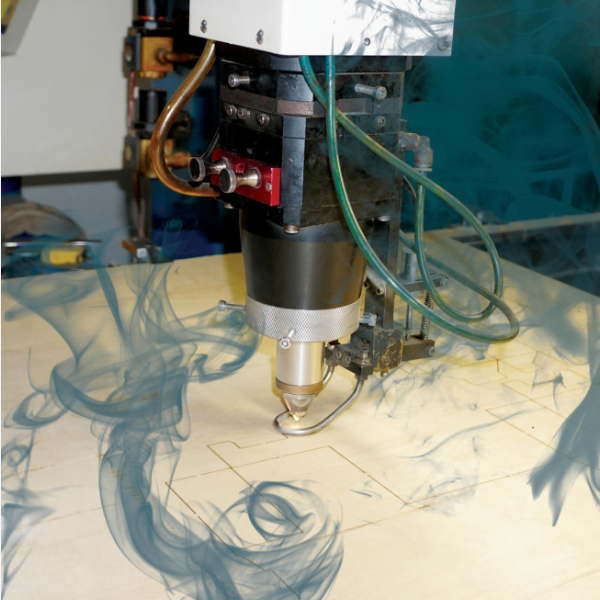
Since dense smoke would be produced during laser die board cutting machine works, you had better wear a mask so that the laser smoke won’t affect your health.

2. Presetting the laser die board cutting machine.
Set up some figures for different material cutting and different thickness. You can upload these setting to your computer or your laser die board cutting machine to save them. Name them in a easy way to remember and find them in the files.
3. Making test cuts on the laser die board cutting machine before official setup.
Making a test cut to ensure everything will go smoothly when you do the full jobs.
Step 2: Set different Power on your laser die board cutting machine for different layers.
The easiest way to do this it to put different parts of you design on different layers in a file. Most graphics programs allow you to create different layers and then to turn them off and on. While you can put everything on one layer here are some advantages to using layers.
1. control the orders of the cuts so that the job can shift easily.
Your laser die board cutting machine should have some options to determine the order in which lines are cut. Setup the machine like a button so that you can make job shifts easily.
2. Make different parts and designs in only 1 file to keep things organized.
It will help you keep things organized and easier to find the designs.
3. Creating some guides on our laser die board cutting machine.
You might need to create some guides for laying out out your design or maybe you'll need a target to place an object in. If you don't want these to print. Put them on their own layer and turn off the printing of that layer.